There’s something wonderfully old-fashioned about a homemade coconut pie made with simple pantry staples. This Crustless Coconut Pie comes together in one bowl and bakes into a tender, lightly golden dessert with a soft, custardy center and plenty of cozy coconut flavor. There’s no pastry crust to roll, chill, or fuss over, which makes this an especially easy pie to make when you want something homemade without the extra work.
The shredded coconut gives every slice a little texture while the eggs, milk, butter, and flour create a tender filling that sets beautifully in the oven. Serve it warm or at room temperature with a dollop of whipped cream for a simple dessert that feels right at a family dinner, holiday table, or quiet afternoon with a cup of coffee.
Why You’ll Make This Again
The beauty of this coconut pie is how little effort it takes. There’s no separate crust to prepare and no complicated filling to cook on the stovetop. Everything comes together with a few basic ingredients, then the oven transforms the simple batter into a golden, tender pie.
The coconut gives the pie its signature flavor and texture, while vanilla adds warmth and the melted butter brings a subtle richness. The result is somewhere between a traditional coconut custard pie and a simple old-fashioned baked coconut dessert.
It’s also wonderfully flexible. You can use sweetened or unsweetened shredded coconut depending on how sweet you like your desserts, then finish each slice with whipped cream or a sprinkle of toasted coconut.
How This Comes Together
The dry ingredients are combined first: shredded coconut, sugar, flour, baking powder, and salt. In a separate bowl, the eggs are whisked with whole milk, vanilla, and melted butter until smooth.
The wet mixture is then stirred into the dry ingredients to create a simple coconut batter. Once poured into a greased 9-inch pie dish, the batter bakes for about 45–50 minutes until the top is lightly golden and a toothpick inserted in the center comes out clean.
After a short cooling period, the pie is ready to slice. It can be served warm for a soft, comforting dessert or allowed to cool completely for firmer, cleaner slices.
What You’ll Need
- 1 cup shredded coconut — sweetened or unsweetened
- 4 large eggs — provide structure and richness
- 1 cup whole milk
- ½ cup granulated sugar
- ½ cup all-purpose flour
- ¼ cup butter — melted and cooled
- 1 teaspoon vanilla extract
- ½ teaspoon baking powder
- ¼ teaspoon salt
- Whipped cream — optional, for serving
- Extra coconut flakes — optional, for topping
Step-by-Step Directions
Step 1 — Prepare the Pie Dish
Preheat the oven to 350°F. Lightly grease a 9-inch pie dish with butter or nonstick cooking spray and set it aside.
Step 2 — Combine the Dry Ingredients
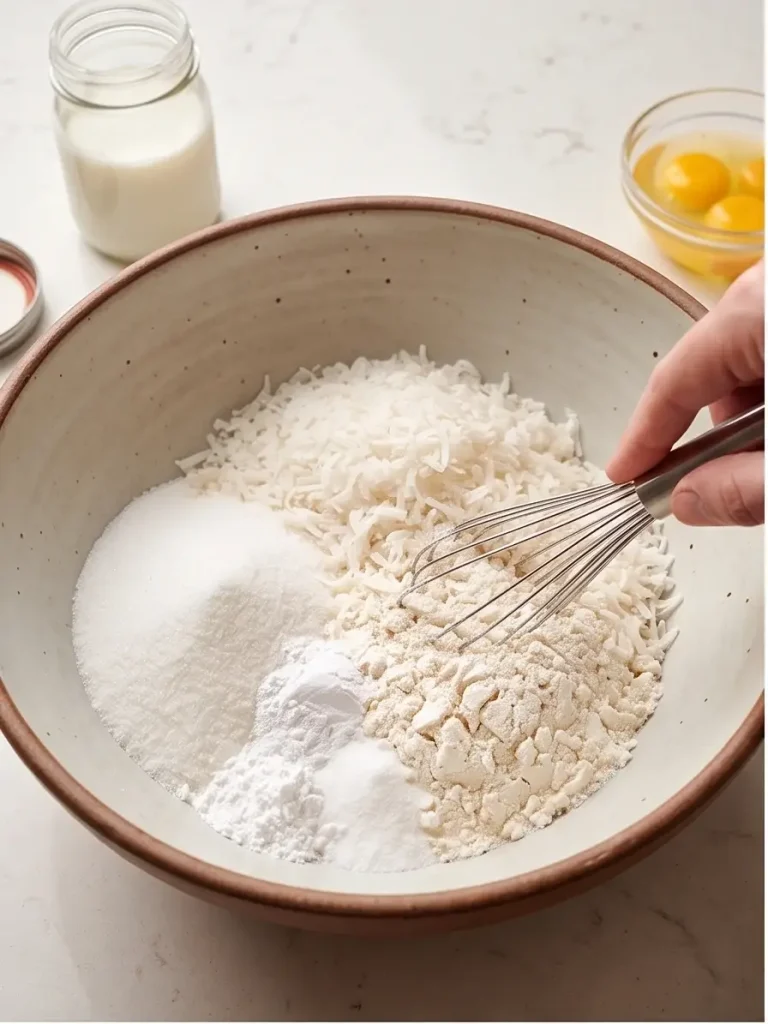
In a large mixing bowl, combine the shredded coconut, granulated sugar, all-purpose flour, baking powder, and salt. Stir until the ingredients are evenly distributed.
Step 3 — Whisk the Wet Ingredients
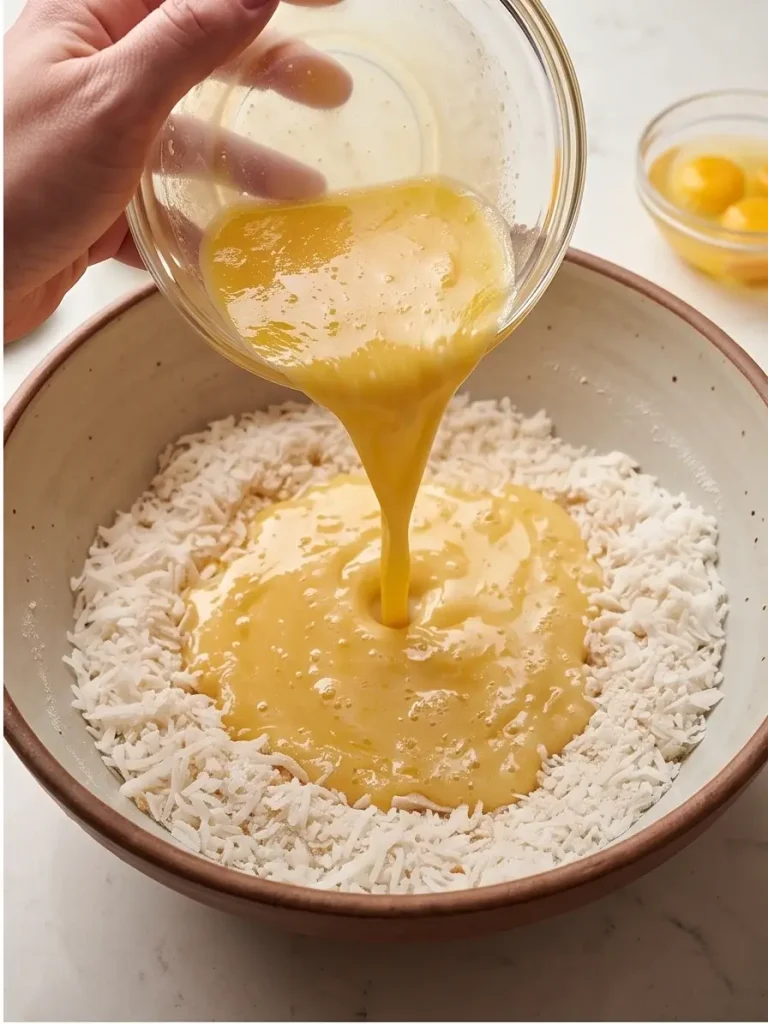
In a separate bowl, whisk together the eggs, whole milk, vanilla extract, and melted butter. Make sure the butter has cooled slightly before adding it so it doesn’t cook the eggs.
Step 4 — Make the Batter
Pour the wet ingredients into the bowl with the dry ingredients. Stir gently until everything is well combined and the coconut is evenly distributed throughout the batter.
Step 5 — Fill the Pie Dish
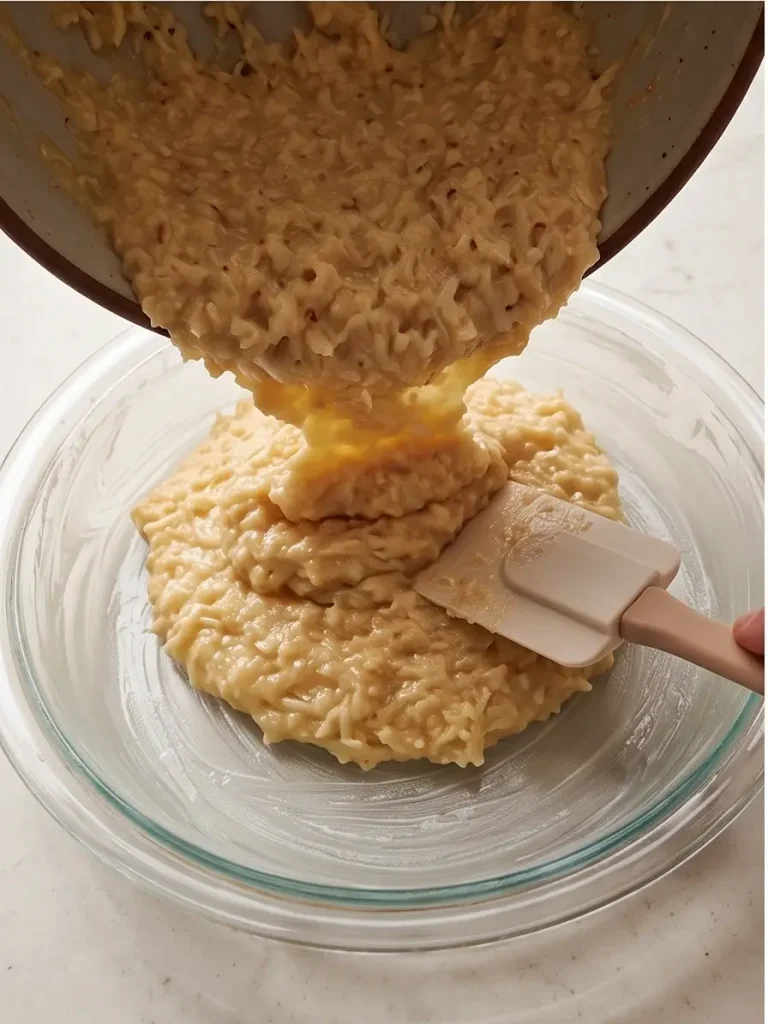
Pour the coconut batter into the prepared 9-inch pie dish. Use a spatula or the back of a spoon to spread it evenly if needed.
Step 6 — Bake Until Golden
Bake for 45–50 minutes, or until the top is lightly golden and a toothpick inserted into the center comes out clean.
The pie may have a slight softness in the center when it first comes out of the oven, but it will continue to set as it cools.
Step 7 — Cool and Serve
Let the pie cool for 10–15 minutes before slicing. Serve it warm or at room temperature with whipped cream or extra coconut flakes if desired.
How to Serve It
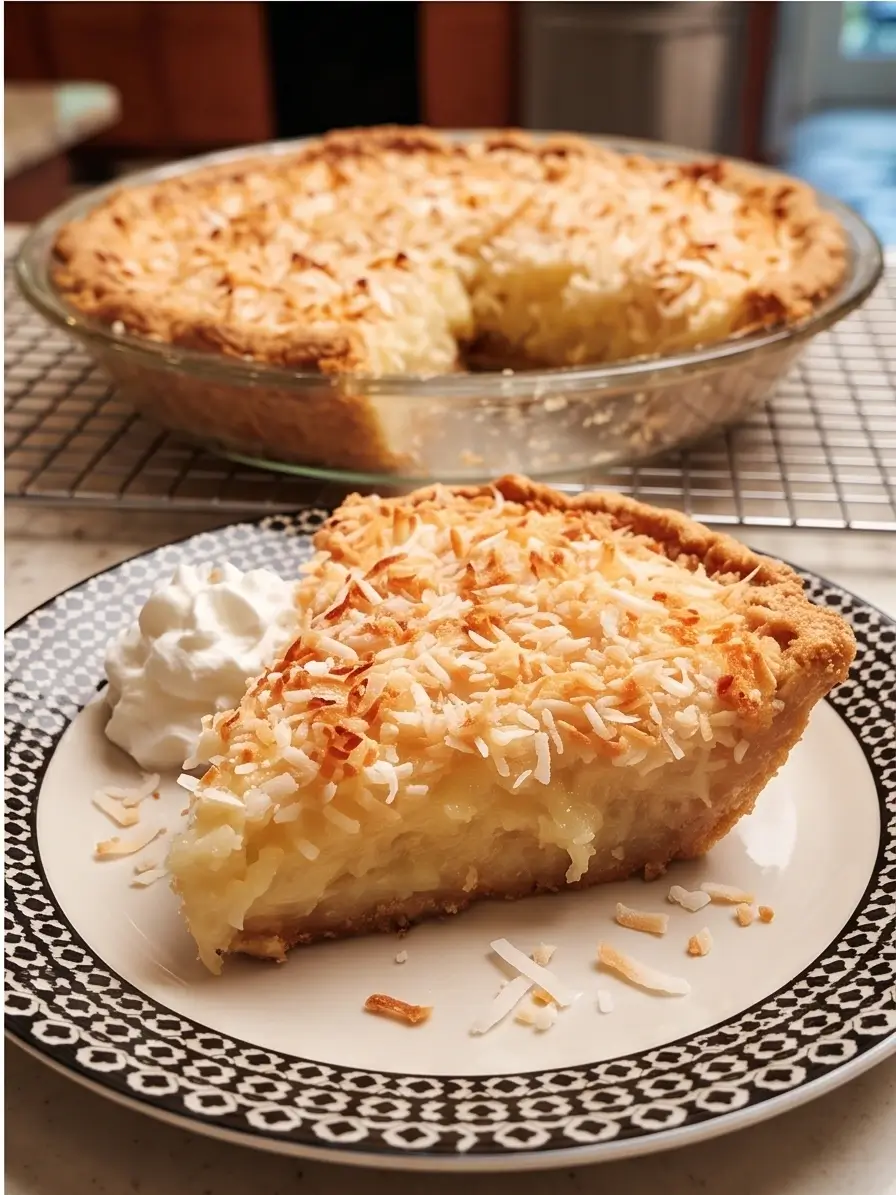
Cut the pie into generous wedges and serve while still slightly warm or allow it to cool completely for a firmer texture. A spoonful of lightly sweetened whipped cream makes a lovely finishing touch, especially when the pie is served warm.
For an extra coconut-forward presentation, lightly toast a few additional coconut flakes and scatter them over each slice. The golden flakes add a little crunch and make the simple pie look especially inviting.
If you enjoy nostalgic homemade desserts, our Old-Fashioned War Cake is another simple recipe with that comforting, from-the-pantry feeling. Both desserts are wonderfully suited to coffee, tea, or an uncomplicated family dessert table.
For another easy baked dessert with a homemade feel, our Apple Pie Enchiladas are filled with warm cinnamon-spiced apple filling and finished with a buttery caramel sauce. And if you’re looking for something pastry-based for breakfast or brunch, our Crescent Roll Cream Cheese Danish makes a beautiful companion recipe.
Leftovers & Storage
Once cooled, cover the pie tightly or transfer individual slices to an airtight container. Store it in the refrigerator for up to 3–4 days.
The pie can be enjoyed cold straight from the refrigerator, but you can also warm individual slices gently in the microwave for a few seconds. Serve warmed slices with whipped cream for an especially comforting dessert.
If you prefer to prepare the pie ahead for a gathering, bake it earlier in the day and let it cool. Keep it refrigerated until you’re ready to serve, then allow it to sit at room temperature briefly before slicing.
Make It Even Better (Pro Tips)
- Let the melted butter cool. Slightly cooled butter blends into the egg mixture more smoothly without scrambling the eggs.
- Measure the flour accurately. Too much flour can make the pie heavier and less tender. Spoon it into the measuring cup and level it off.
- Don’t overmix. Stir the wet and dry ingredients just until combined for the most tender texture.
- Choose your coconut carefully. Sweetened coconut creates a sweeter dessert, while unsweetened coconut lets you control the sweetness more closely.
- Watch the final minutes of baking. The top should be lightly golden and the center should be set enough for a toothpick to come out clean.
- Let it rest before slicing. The filling continues to firm up as the pie cools, making it easier to cut neatly.
- Toast extra coconut for topping. A few golden coconut flakes add wonderful texture and a little extra roasted flavor.
Easy Ways to Change It Up
- Add citrus: Stir in a little finely grated lemon or lime zest for a bright flavor that complements the coconut.
- Make it extra coconutty: Add a small splash of coconut extract along with the vanilla for a stronger coconut flavor.
- Toast the coconut: Lightly toast the shredded coconut before adding it to the batter for a deeper, nuttier flavor.
- Add a chocolate touch: Sprinkle a small handful of mini chocolate chips into the batter for a coconut-and-chocolate variation.
- Add tropical fruit: Serve each slice with fresh pineapple or sliced mango for a bright tropical dessert plate.
- Finish with caramel: A light drizzle of caramel sauce over the whipped cream adds buttery sweetness that pairs beautifully with coconut.
Quick Questions
Does crustless coconut pie really need a crust?
No. The batter bakes directly in the greased pie dish, creating a tender pie-like dessert without a traditional pastry crust. That is what makes this recipe so simple and approachable.
Can I use sweetened coconut instead of unsweetened?
Yes. Both can be used. Sweetened shredded coconut will make the finished pie sweeter, while unsweetened coconut gives you a more balanced sweetness from the granulated sugar alone.
Can I make this coconut pie ahead of time?
Yes. The pie can be baked several hours ahead and refrigerated once cooled. It can be served chilled, at room temperature, or gently warmed just before serving.
How do I know when coconut pie is done?
The top should be lightly golden, and a toothpick inserted into the center should come out clean. The pie may still have a little softness in the center when it first leaves the oven, but it will continue to set as it cools.
What should I serve with coconut pie?
Whipped cream is a simple and classic choice. You can also add toasted coconut, fresh pineapple, mango, or a light caramel drizzle. For another nostalgic dessert to serve alongside it, try our Old-Fashioned War Cake.
“Simple pantry ingredients, plenty of coconut, and a tender golden center—this is the kind of old-fashioned pie that makes homemade dessert feel wonderfully easy.”— Ava
Crustless Coconut Pie
Ingredients
Equipment
Method
- Preheat the oven to 350°F. Lightly grease a 9-inch pie dish with butter or nonstick cooking spray and set it aside.
- In a large mixing bowl, combine the shredded coconut, granulated sugar, all-purpose flour, baking powder, and salt. Stir until the ingredients are evenly distributed.
- In a separate bowl, whisk together the eggs, whole milk, vanilla extract, and melted butter. Make sure the butter has cooled slightly before adding it so it doesn’t cook the eggs.
- Pour the wet ingredients into the bowl with the dry ingredients. Stir gently until everything is well combined and the coconut is evenly distributed throughout the batter.
- Pour the coconut batter into the prepared 9-inch pie dish. Use a spatula or the back of a spoon to spread it evenly if needed.
- Bake for 45–50 minutes, or until the top is lightly golden and a toothpick inserted into the center comes out clean. The pie may have a slight softness in the center when it first comes out of the oven, but it will continue to set as it cools.
- Let the pie cool for 10–15 minutes before slicing. Serve it warm or at room temperature with whipped cream or extra coconut flakes if desired.