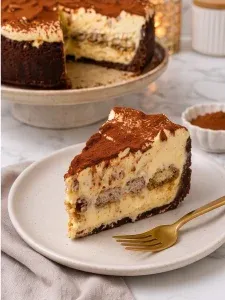
There’s something wonderfully special about bringing two beloved desserts together. This Tiramisu Cheesecake has the rich, smooth texture of classic cheesecake with the comforting coffee flavor of Italian tiramisu.
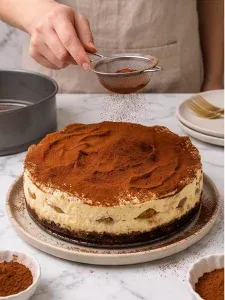
It is layered with espresso-dipped ladyfingers and finished with a beautiful dusting of cocoa, making it an elegant homemade dessert for Sunday dinners, holidays or a special afternoon with coffee. If you love cheesecake, try our Classic Japanese Cotton Cheesecake too.
Why You’ll Make This Again
- Two desserts in one: creamy cheesecake meets coffee-soaked tiramisu layers.
- Silky texture: mascarpone makes the filling extra smooth and rich.
- Make-ahead dessert: it needs to chill anyway, so bake it the day before.
- Elegant look: a cocoa-dusted top that looks bakery-worthy.
- Serves 10 to 12: a great showpiece for holidays and gatherings.
How This Comes Together
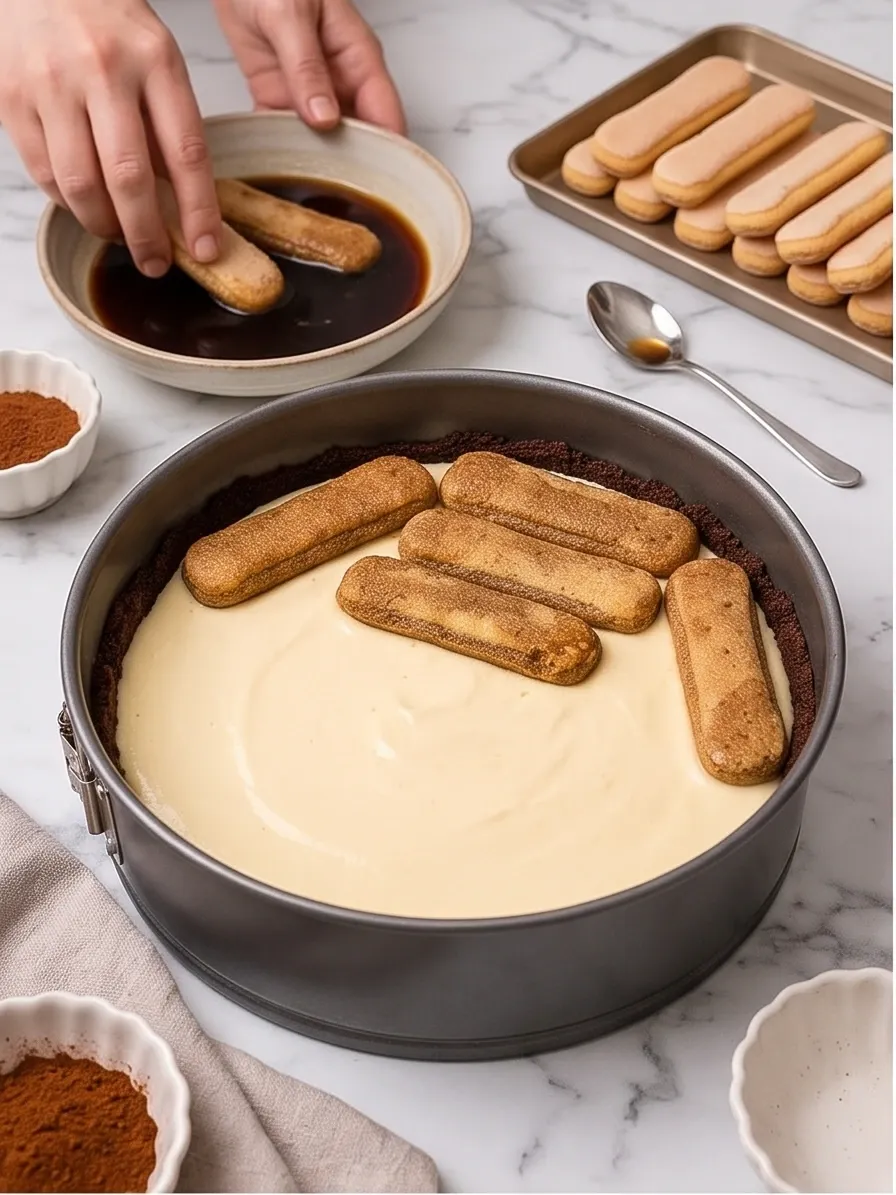
Start with a buttery biscuit crust. Beat cream cheese, mascarpone and sugar into a smooth filling, then add eggs, espresso, cream and vanilla. Half the filling goes over the crust, then a layer of quickly dipped ladyfingers, then the rest of the filling. After baking, the cheesecake rests in the turned-off oven, cools, and chills until fully set.
What You’ll Need
For the Crust
- 1½ cups digestive biscuit or graham cracker crumbs
- ⅓ cup unsalted butter, melted
For the Tiramisu Cheesecake Filling
- 16 ounces cream cheese, softened
- 8 ounces mascarpone cheese, softened
- ¾ cup granulated sugar
- 3 large eggs, at room temperature
- ¼ cup strong brewed espresso or coffee, cooled
- 2 tablespoons heavy whipping cream
- 1 teaspoon vanilla extract
For the Ladyfinger Layer
- 15–20 ladyfinger biscuits
- 1 cup strong brewed espresso, cooled
- 1 tablespoon granulated sugar
- 1 tablespoon coffee liqueur or brandy, optional
For Finishing
- Unsweetened cocoa powder, for dusting
Prep Time: 25 minutes | Cook Time: 60–70 minutes | Total Time: approximately 9 hours, including cooling and chilling | Serves: 10–12
Estimated Nutrition: about 520 calories and 8 g protein per slice.
Step-by-Step Directions
Step 1: Prep the pan
Preheat the oven to 325°F. Lightly grease a 9-inch springform pan.
Step 2: Make the crust
Combine the biscuit crumbs and melted butter until the mixture resembles wet sand. Press firmly into the bottom of the pan.
Step 3: Bake the crust
Bake the crust for 10 minutes, then remove it from the oven and let it cool.
Step 4: Prepare the coffee dip
In a small bowl, mix the cooled espresso with 1 tablespoon of sugar. Stir in the coffee liqueur or brandy, if using.
Step 5: Beat the cheese
In a large mixing bowl, beat the softened cream cheese, mascarpone and ¾ cup sugar until smooth and creamy.
Step 6: Add the eggs
Add the eggs one at a time, mixing on low speed just until incorporated. Avoid overmixing.
Step 7: Finish the filling
Add the vanilla, cooled espresso and heavy cream. Mix gently until smooth.
Step 8: First layer
Pour half of the cheesecake filling over the cooled crust and spread evenly.
Step 9: Add the ladyfingers
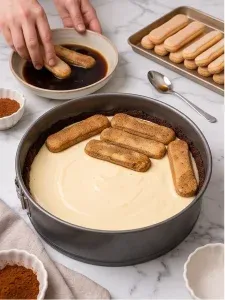
Quickly dip each ladyfinger into the coffee mixture, just long enough to coat it without becoming soggy. Arrange them in a single layer over the filling.
Step 10: Top with the rest
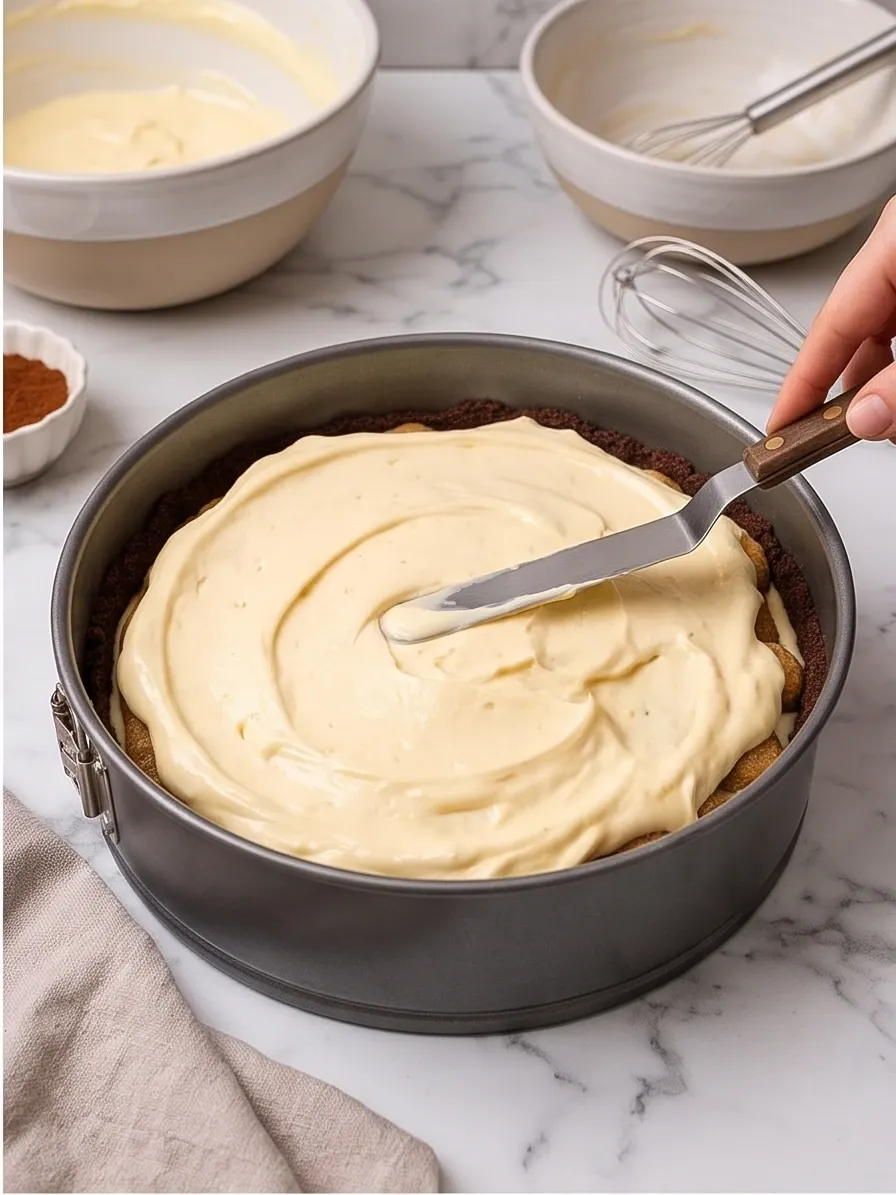
Pour the remaining cheesecake mixture over the ladyfingers, spreading gently to cover them completely.
Step 11: Bake
Bake for 50–60 minutes, until the edges are set and the center still has a slight wobble.
Step 12: Rest in the oven
Turn off the oven, leave the cheesecake inside with the door slightly open, and let it rest for 30 minutes.
Step 13: Cool
Remove the cheesecake and cool completely at room temperature.
Step 14: Chill
Refrigerate for at least 4 hours, preferably overnight, until fully set.
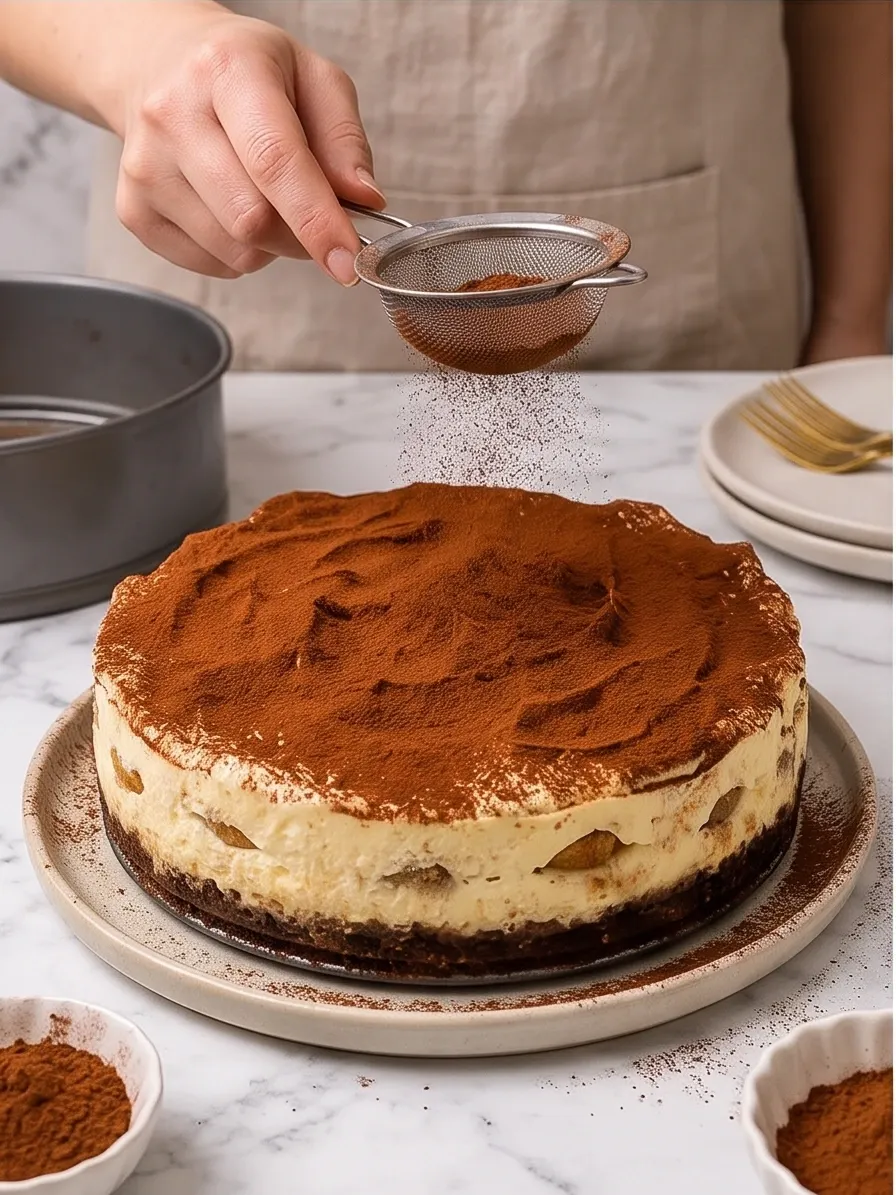
Step 15: Finish and serve
Carefully remove the springform ring and dust generously with cocoa powder just before serving. For neat slices, use a warm knife and wipe it between cuts.
How to Serve It
Dust with cocoa right before serving and slice with a warm, wiped knife. Serve cold with a cup of espresso or coffee, or with a few chocolate shavings on top.
Leftovers & Storage
Cover and refrigerate for up to 4 days. Add the cocoa dusting just before serving so it stays dry and dark.
Make It Even Better: Pro Tips
- Use room-temperature ingredients: the filling mixes smoothly with no lumps.
- Mix the eggs gently: overmixing adds air and can cause cracks.
- Dip ladyfingers quickly: just long enough to coat so they don’t get soggy.
- Cool slowly: resting in the oven helps prevent cracks on top.
- Chill overnight: this gives the cleanest slices and the best flavor.
Easy Ways to Change It Up
- Alcohol-free: skip the liqueur or brandy.
- Chocolate crust: use chocolate cookie crumbs for the base.
- Chocolate shavings: top with dark chocolate curls.
- Mini version: bake in a muffin tin for individual servings.
Quick Questions
Can I use instant coffee?
Yes, strong brewed instant coffee works if you don’t have espresso. Let it cool before using.
Can I skip the mascarpone?
Mascarpone gives the tiramisu flavor and silky texture, so it is best to keep it.
Why did my cheesecake crack?
Overmixing or cooling too quickly can cause cracks. Mix on low and let it rest in the oven.
Can I make it ahead?
Yes, it needs at least 4 hours of chilling, so it is perfect made the day before.
Do I need a springform pan?
A 9-inch springform pan makes it easy to release and slice neatly.
A Dessert Worth the Wait
This tiramisu cheesecake is a little bit of work and a lot of reward. Make it for your next special dinner and watch it disappear.
Happy baking!
— Ava
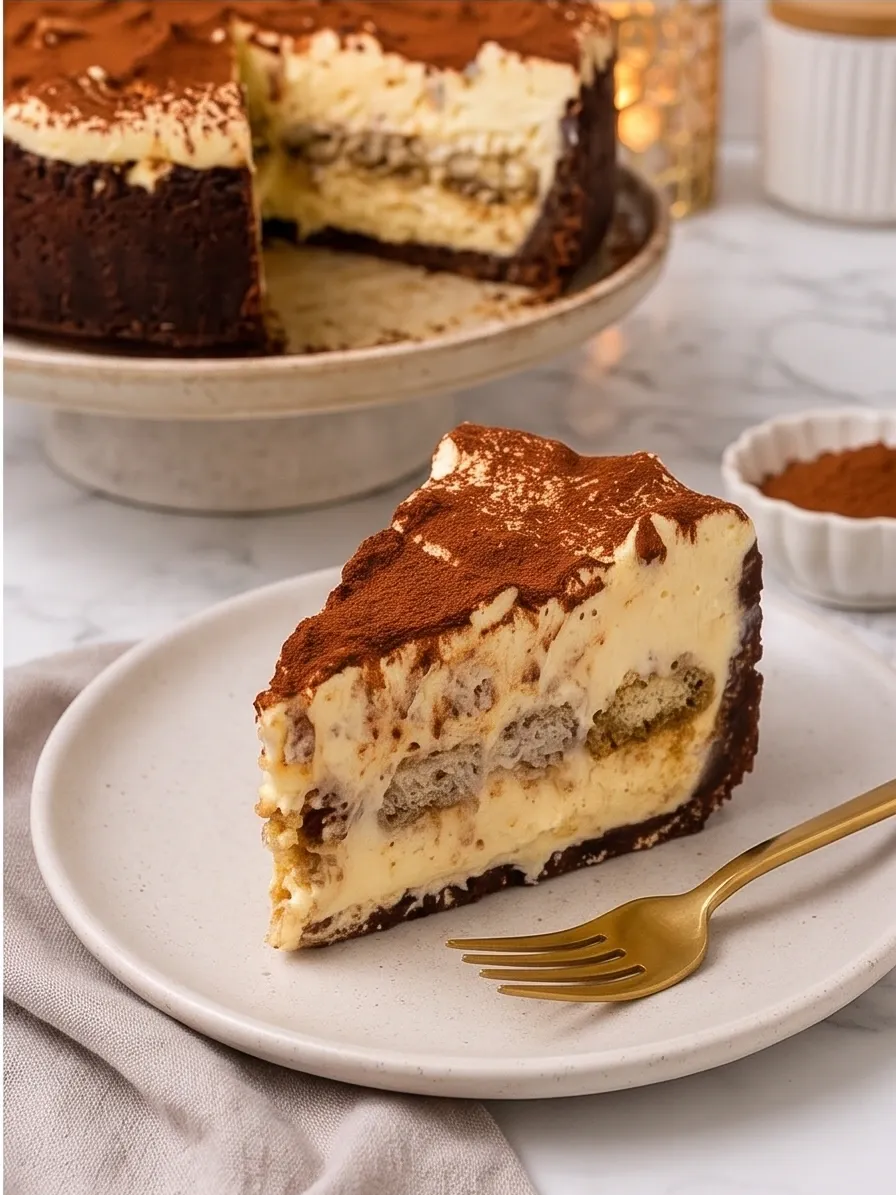
Tiramisu Cheesecake
Ingredients
Method
- Preheat the oven to 325°F. Lightly grease a 9-inch springform pan.
- Combine the biscuit crumbs and melted butter until the mixture resembles wet sand. Press firmly into the bottom of the pan.

- Bake the crust for 10 minutes, then remove it from the oven and let it cool.
- In a small bowl, mix the cooled espresso with 1 tablespoon of sugar. Stir in the coffee liqueur or brandy, if using.
- In a large mixing bowl, beat the softened cream cheese, mascarpone, and ¾ cup sugar until smooth and creamy.
- Add the eggs one at a time, mixing on low speed just until incorporated. Avoid overmixing.
- Add the vanilla, cooled espresso, and heavy cream. Mix gently until smooth.
- Pour half of the cheesecake filling over the cooled crust and spread evenly.
- Quickly dip each ladyfinger into the coffee mixture, just long enough to coat it without becoming soggy. Arrange them in a single layer over the filling.
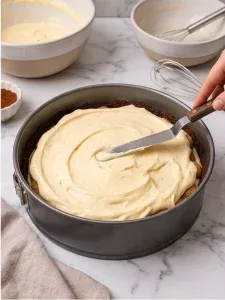
- Pour the remaining cheesecake mixture over the ladyfingers, spreading gently to cover them completely.
- Bake for 50–60 minutes, until the edges are set and the center still has a slight wobble.
- Turn off the oven, leave the cheesecake inside with the door slightly open, and let it rest for 30 minutes.
- Remove the cheesecake and cool completely at room temperature.
- Refrigerate for at least 4 hours, preferably overnight, until fully set.
- Carefully remove the springform ring and dust generously with cocoa powder just before serving. For neat slices, use a warm knife and wipe it between cuts.