Coconut Ice is one of those treats that never goes out of style. This pretty pink-and-white coconut candy is sweet, simple, and wonderfully old-fashioned, the kind of homemade dessert that looks beautiful on a holiday table and brings back memories of simpler days. If you love old-fashioned candy, you will also enjoy this Old-Fashioned Jelly Nougat Candy.
There is no cooking and no candy thermometer. You stir powdered sugar, shredded coconut, and sweetened condensed milk into a thick dough, press half into a pan, tint the rest pink, and press it on top. After a few hours in the refrigerator, it cuts into neat little squares.
Why You’ll Make This Again
- No cooking: Just stir, press, and chill.
- Only six ingredients: Condensed milk, powdered sugar, coconut, vanilla, salt, and a little pink food coloring.
- Pretty two-tone layers: Pink and white squares look lovely on a platter or in a gift box.
- Makes 24: Plenty for a holiday table, a cookie box, or a party.
- Old-fashioned flavor: Sweet, chewy, and full of coconut.
How This Comes Together
Mix the powdered sugar, shredded coconut, and salt in a large bowl, then stir in the sweetened condensed milk and vanilla until you have a thick, sticky dough. Divide the dough in two, press one half into a parchment-lined 8-inch square pan, and knead 2 to 3 drops of pink food coloring into the other half. Press the pink layer on top, smooth it with the back of a spoon, and chill for 2 to 3 hours until firm.
What You’ll Need
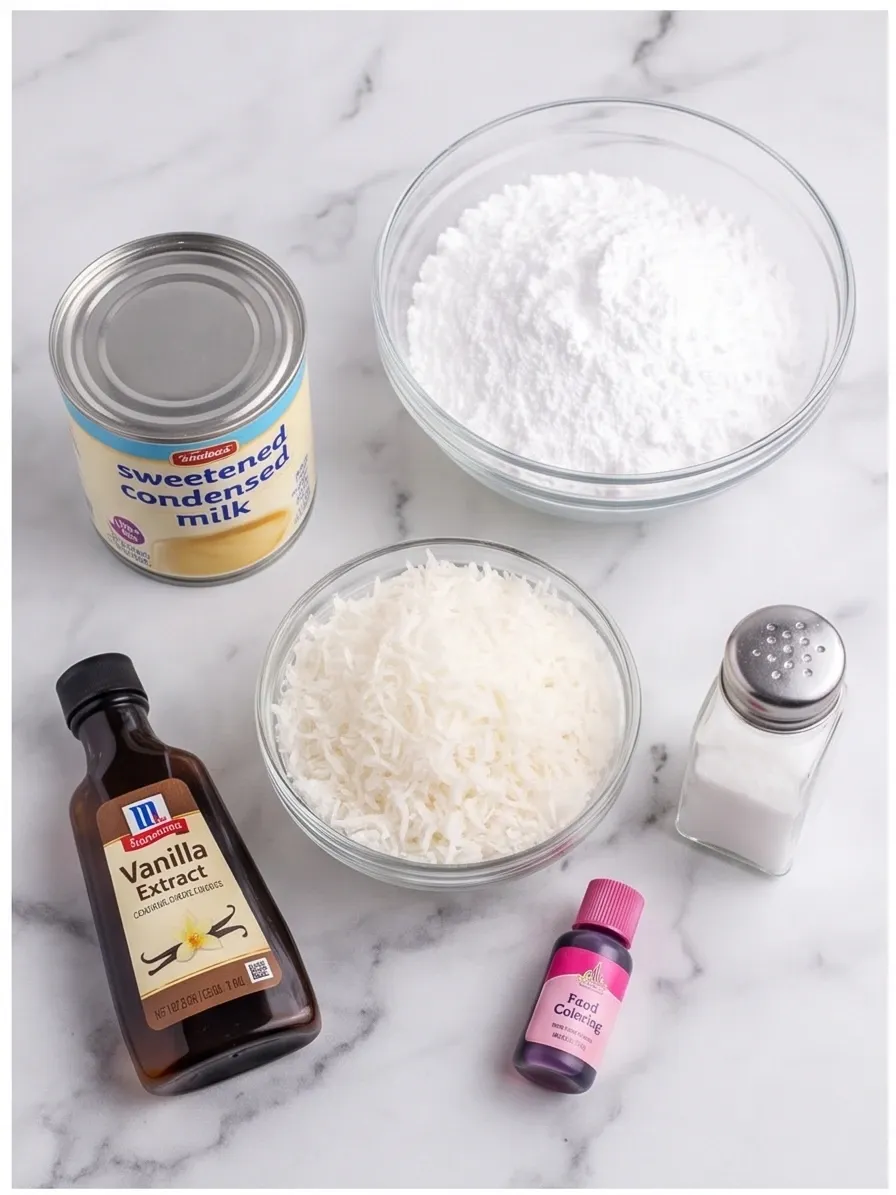
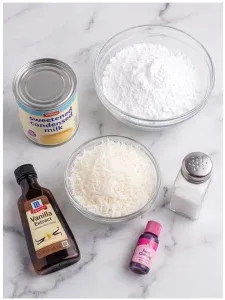
- 14 oz sweetened condensed milk
- 3½ cups powdered sugar, sifted
- 12 oz unsweetened shredded coconut
- 1 teaspoon vanilla extract
- 2–3 drops pink food coloring
- Pinch of salt
Prep Time: 15 minutes | Cook Time: 0 minutes | Total Time: 2 hours 15 minutes | Serves: 24
Estimated Nutrition: Approximately 170 calories and 2 g protein per serving.
Step-by-Step Directions
Step 1: Line the Pan
Line an 8-inch square baking pan with parchment paper, leaving some paper hanging over the sides for easy removal.
Step 2: Mix the Dry Ingredients
In a large bowl, mix the powdered sugar, shredded coconut, and salt.
Step 3: Make the Dough
Add the sweetened condensed milk and vanilla extract. Stir until the mixture forms a thick, sticky dough.
Step 4: Divide in Two
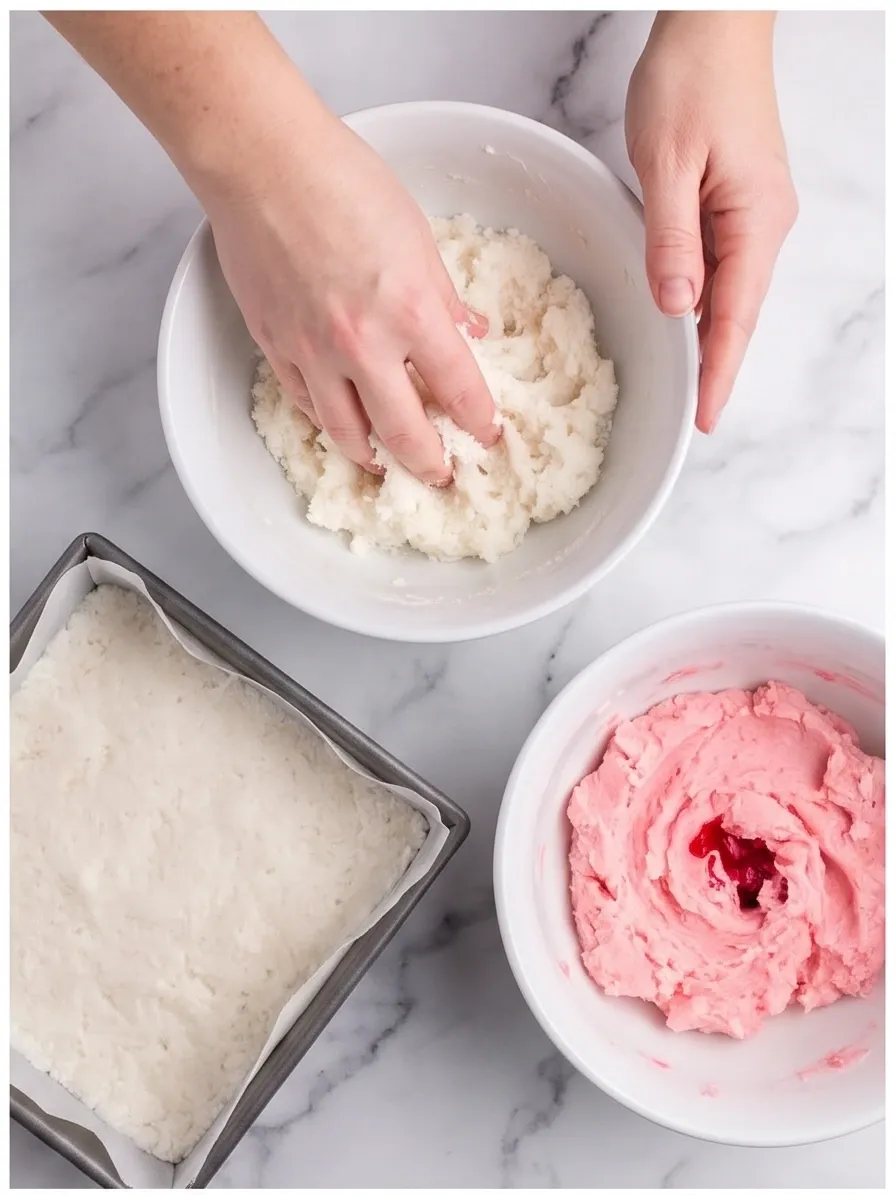
Divide the mixture into two equal portions.
Step 5: Press the White Layer
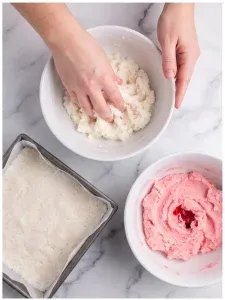
Press one portion firmly and evenly into the bottom of the prepared pan.
Step 6: Color the Second Portion
Add 2–3 drops of pink food coloring to the remaining portion. Knead gently until the color is evenly mixed.
Step 7: Add the Pink Layer
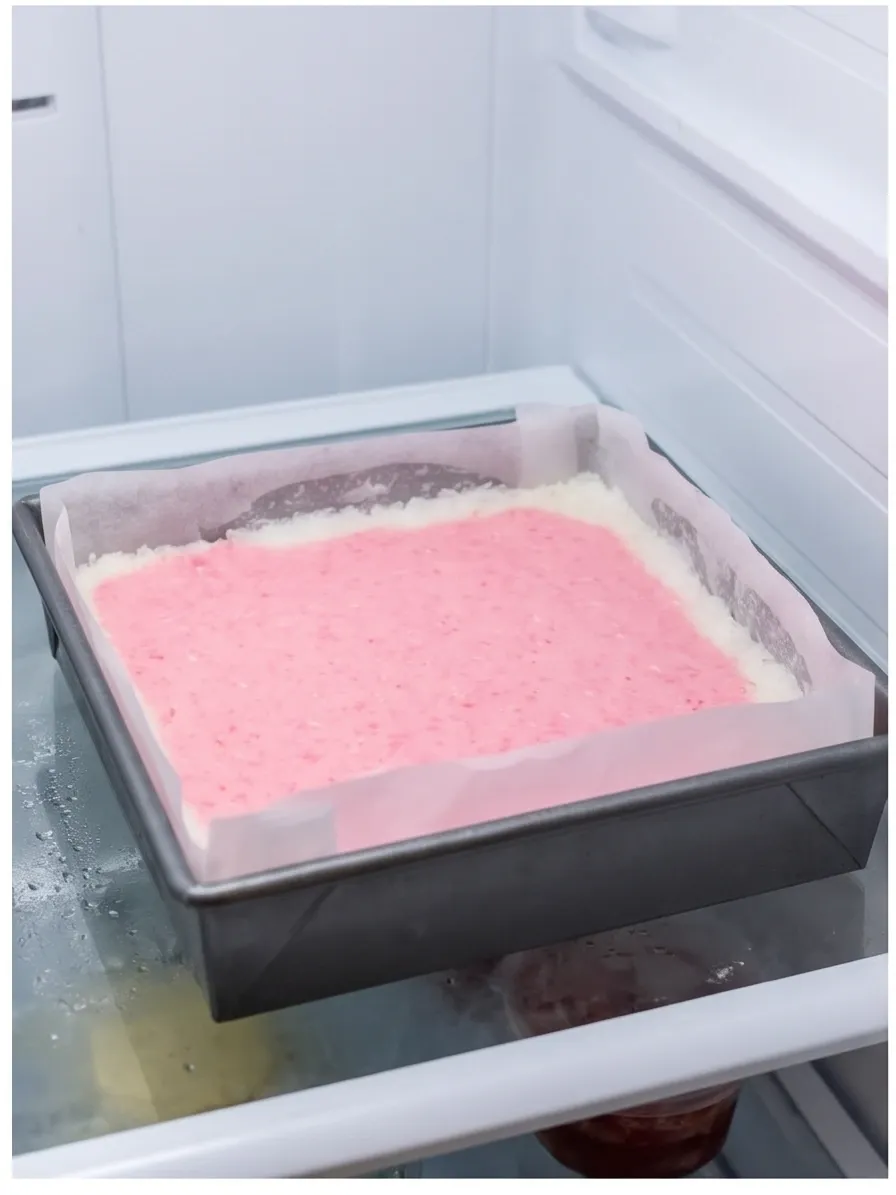
Press the pink mixture firmly over the white layer. Smooth the top with the back of a spoon.
Step 8: Chill Until Firm
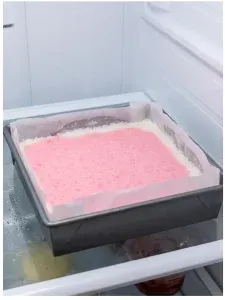
Refrigerate for 2–3 hours, or until firm.
Step 9: Cut and Serve
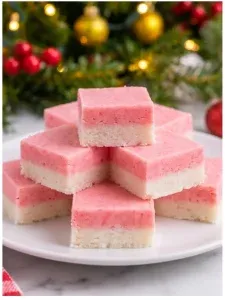
Lift the coconut ice from the pan using the parchment paper. Cut into small squares and serve.
How to Serve It
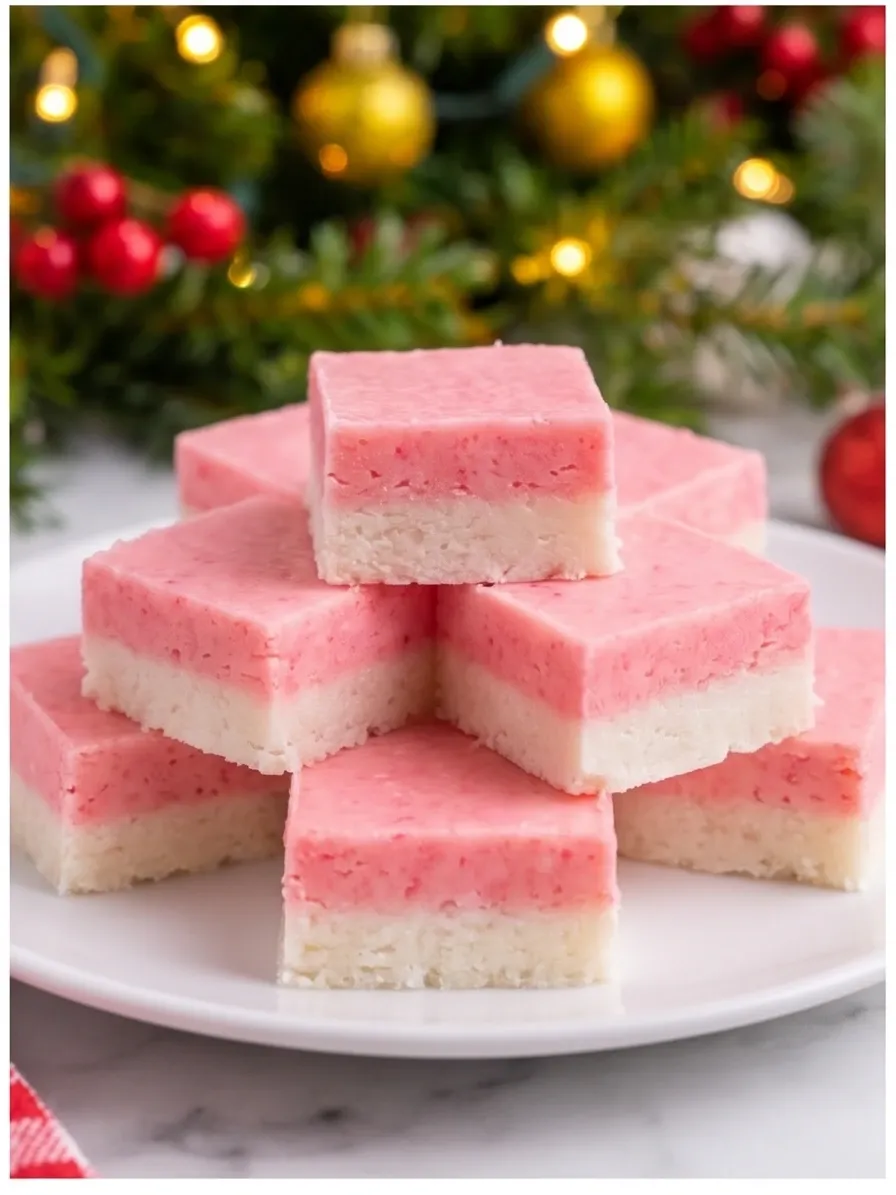
Stack the squares on a white plate for a pretty holiday dessert table, or pack them in a tin lined with parchment as a homemade gift. They go well next to Homemade Caramel Milk Candy and Chocolate Christmas Candy on a candy platter.
Leftovers & Storage
- Refrigerator: Store in an airtight container for up to 2 weeks. Place parchment paper between the layers of squares.
- Freezer: Freeze in an airtight container for up to 2 months, with parchment between the layers. Thaw in the refrigerator.
- Serving tip: Serve chilled or let the squares sit at room temperature for a few minutes.
Make It Even Better: Pro Tips
- Line the pan well: Leave parchment hanging over the sides so you can lift the whole slab out.
- Sift the powdered sugar: It mixes in smoothly without lumps.
- Press firmly: Packing each layer tightly helps the squares hold their shape when cut.
- Add color slowly: Start with 2 drops of food coloring and add a third if you want a deeper pink.
- Chill until firm: The full 2 to 3 hours gives clean, neat squares.
Easy Ways to Change It Up
- Other colors: Use red or green food coloring for Christmas, or blue for a baby shower.
- Flavor twist: Add a drop of almond or peppermint extract to the pink layer.
- Dip in chocolate: Dip the cut squares halfway in melted chocolate.
Quick Questions
Do I have to use unsweetened coconut?
This recipe is written with unsweetened shredded coconut, since the condensed milk and powdered sugar provide all the sweetness.
How long does it need to chill?
Refrigerate for 2 to 3 hours, or until firm, before lifting the slab out and cutting it into squares.
How do I get an even pink color?
Add 2 to 3 drops of food coloring to the second portion of dough and knead gently until the color is evenly mixed.
Can I make it ahead?
Yes. It keeps well in the refrigerator, so you can make it a few days before a party.
Is it cooked?
No. Coconut ice is a no-cook candy, so you only need a bowl, a pan, and a refrigerator.
A Sweet Little Tradition
This Coconut Ice is simple, cheerful, and fun to make with children. Press the layers, chill, cut, and enjoy a little sweet nostalgia.
I hope it brings some old-fashioned sweetness to your table.
— Ava
Coconut Ice
Ingredients
Method
- Line an 8-inch square baking pan with parchment paper, leaving some paper hanging over the sides for easy removal.

- In a large bowl, mix the powdered sugar, shredded coconut, and salt.
- Add the sweetened condensed milk and vanilla extract. Stir until the mixture forms a thick, sticky dough.
- Divide the mixture into two equal portions.
- Press one portion firmly and evenly into the bottom of the prepared pan.
- Add 2–3 drops of pink food coloring to the remaining portion. Knead gently until the color is evenly mixed.
- Press the pink mixture firmly over the white layer. Smooth the top with the back of a spoon.
- Refrigerate for 2–3 hours, or until firm.
- Lift the coconut ice from the pan using the parchment paper. Cut into small squares and serve.
Notes
- Leave some parchment hanging over the sides of the pan so the coconut ice lifts out easily.
- Press each layer firmly and evenly into the pan so the squares hold together.
- Knead the pink food coloring in gently until the color is even.
- Refrigerate for 2–3 hours, or until firm, before cutting into small squares.