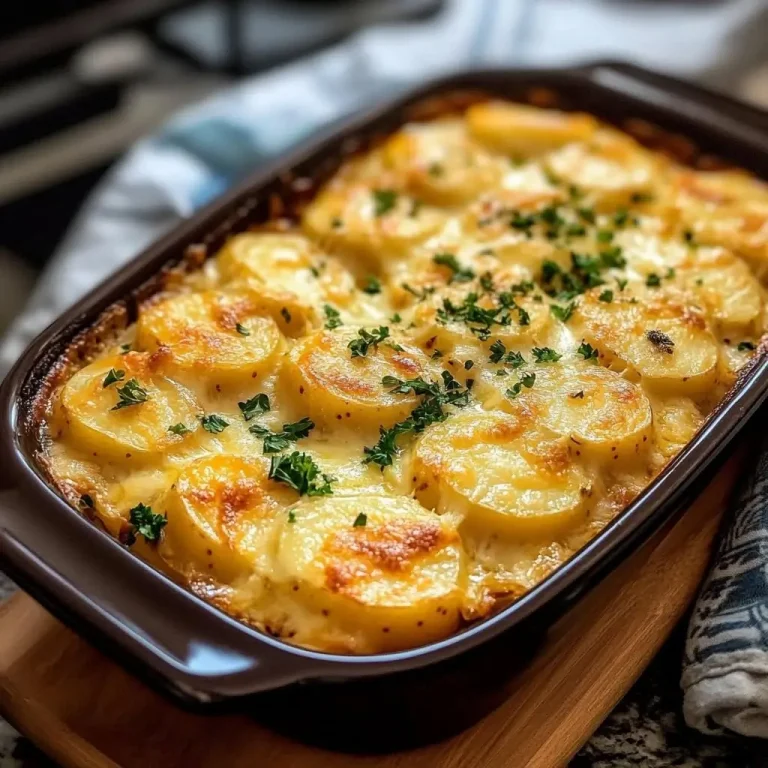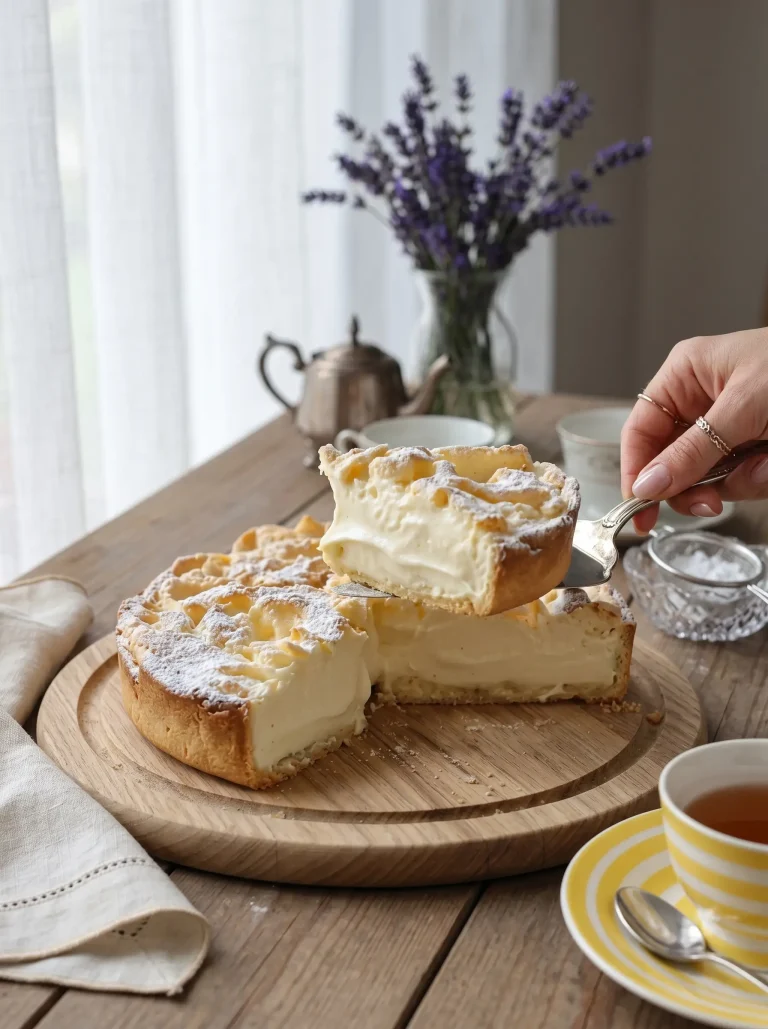
There’s something deeply comforting about recipes that have been passed down through generations. This old-fashioned war cake is the kind of simple, hearty dessert that tells a story with every slice — made without eggs or butter, filled with plump raisins, brown sugar, and warm spices, and baked from the kind of pantry ingredients that made homemade treats possible even when resources were limited. It has a wonderfully nostalgic flavor, a tender texture, and the unmistakable warmth of an old family recipe that has been loved for generations.
There is nothing complicated or fussy about this cake. The raisins simmer with brown sugar, shortening, water, and spices before the mixture cools and is combined with flour and a few simple flavorings. The result is a moist, warmly spiced cake with sweet pockets of raisins throughout and a rich, old-fashioned flavor that tastes like something you might discover handwritten on a treasured recipe card. It is the perfect cake for a quiet afternoon with coffee, a simple family dessert, or whenever you want something nostalgic and comforting from the oven.
Why You’ll Make This Again
The beauty of war cake is its simplicity. There are no eggs or butter in the batter, yet the finished cake is wonderfully tender and flavorful. The raisins are simmered directly with the brown sugar and spices, allowing them to become plump and deeply infused with cinnamon, cloves, and allspice before they ever meet the flour. That simple cooking step gives the cake a much deeper flavor than simply stirring raisins into an ordinary cake batter.
The combination of brown sugar and warm spices gives every bite a cozy, caramel-like sweetness, while the small amount of vanilla and lemon extract adds a subtle layer of brightness. The texture is pleasantly dense and moist without being heavy, making it a particularly satisfying old-fashioned dessert. It is exactly the kind of humble recipe that proves you don’t need complicated ingredients to make something genuinely delicious.
How This Comes Together
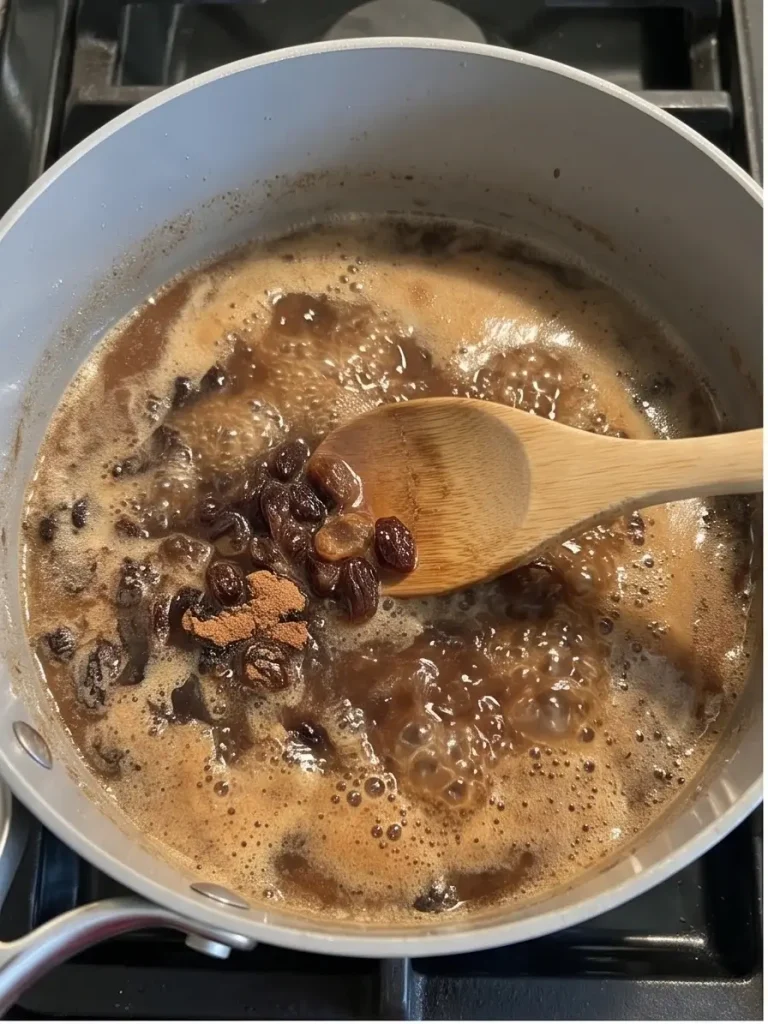
The first step is what gives this cake its distinctive character. The raisins, water, brown sugar, shortening, salt, cinnamon, cloves, and allspice are brought to a boil and then simmered for five minutes. This gently cooks the raisins until they become plump and tender while allowing the brown sugar and spices to dissolve into a deeply flavored mixture.
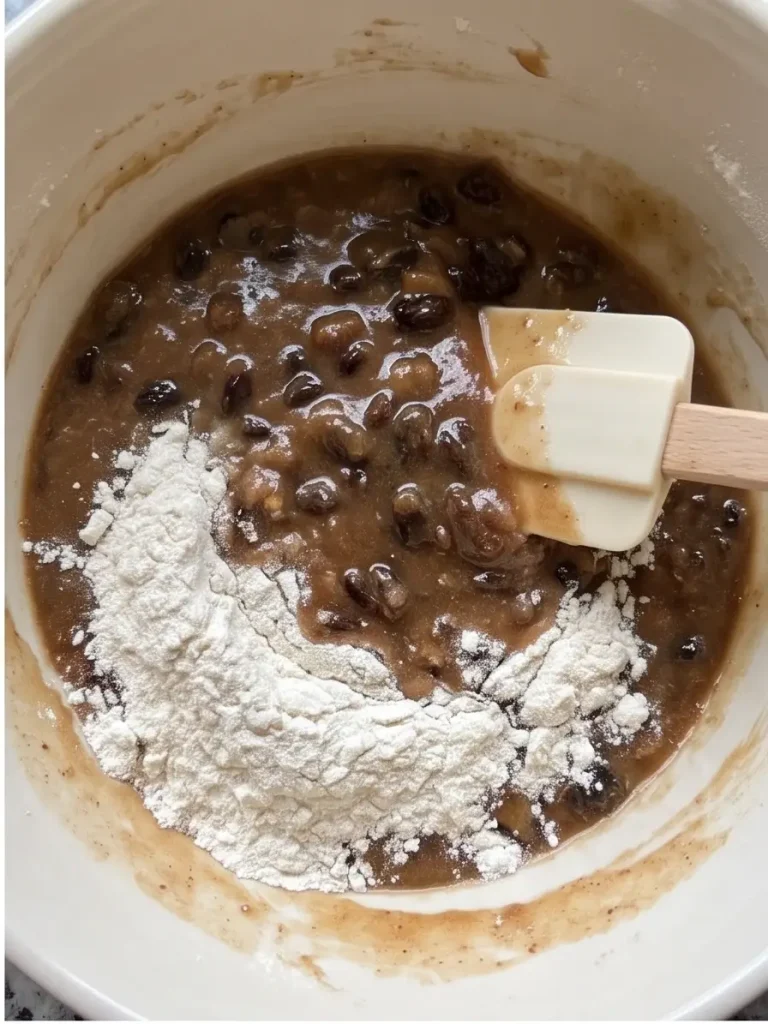
Once the mixture has cooled completely, the baking soda, vanilla, and lemon extracts are stirred in before the flour is folded through. The batter is spread into a greased 9×13-inch baking dish and baked until a toothpick inserted in the center comes out clean. The process is wonderfully straightforward, but the aroma that fills the kitchen while the cake bakes is anything but ordinary.
What You’ll Need
This is a classic pantry-style cake, which means most of the ingredients are simple staples. Seedless raisins provide the sweet, fruity center of the cake, while brown sugar and shortening create richness and moisture. Cinnamon, cloves, and allspice bring the unmistakable warm spice flavor that makes this dessert so nostalgic.
- 1 pound seedless raisins
- 2 cups water
- 2 cups packed brown sugar
- 4 tablespoons shortening
- 2 1/2 cups all-purpose flour
- 1 teaspoon cinnamon
- 1 teaspoon salt
- 1/2 teaspoon ground cloves
- 1 teaspoon allspice
- 1 teaspoon baking soda
- 1/2 teaspoon vanilla extract
- 1/2 teaspoon lemon extract
Step-by-Step Directions
1. Prepare the Raisin Mixture
Preheat the oven to 350°F and grease a 9×13-inch baking dish. In a large pot, combine the raisins, water, brown sugar, shortening, salt, cinnamon, cloves, and allspice. Bring the mixture to a boil, then reduce the heat and simmer for 5 minutes.
2. Cool the Mixture
Remove the pot from the heat and allow the raisin mixture to cool completely to room temperature. Once cooled, stir in the baking soda, vanilla extract, and lemon extract.
3. Add the Flour
Gradually add the flour to the cooled raisin mixture, stirring just until the flour is incorporated and a thick batter forms. Avoid overmixing.
4. Fill the Baking Dish
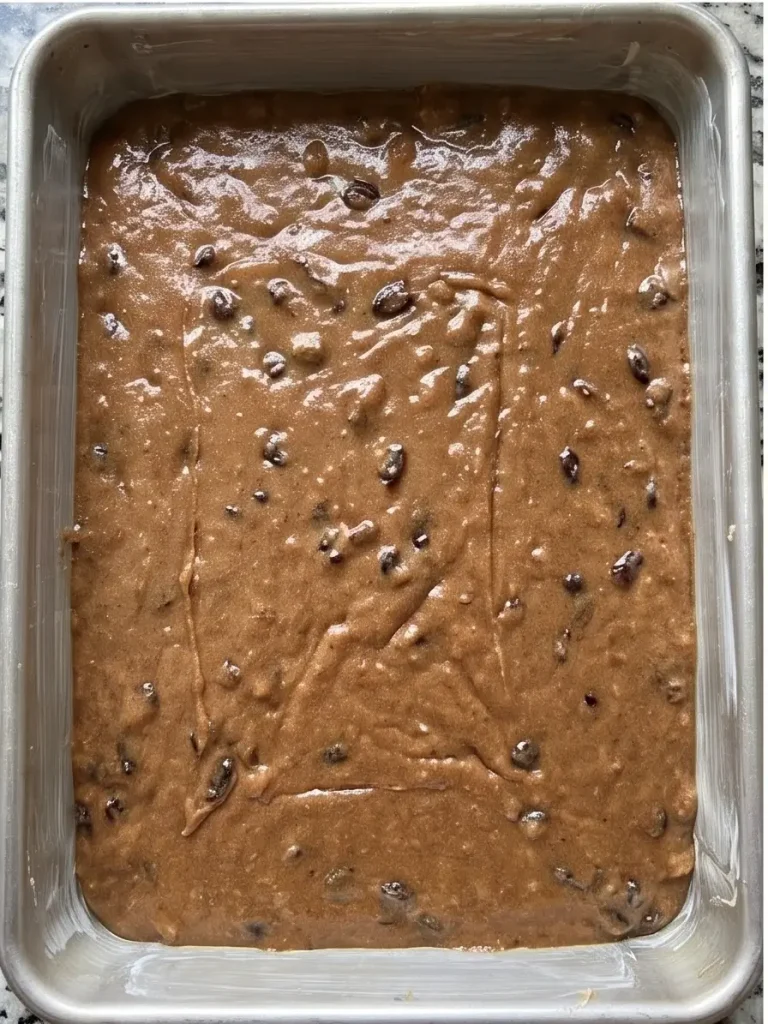
Pour the batter into the prepared 9×13-inch baking dish. Use a spatula to spread it into an even layer, making sure the batter reaches the corners of the dish.
5. Bake the Cake
Place the baking dish in the preheated oven and bake for 35–40 minutes, or until the cake is set and a toothpick inserted into the center comes out clean.
6. Cool and Serve
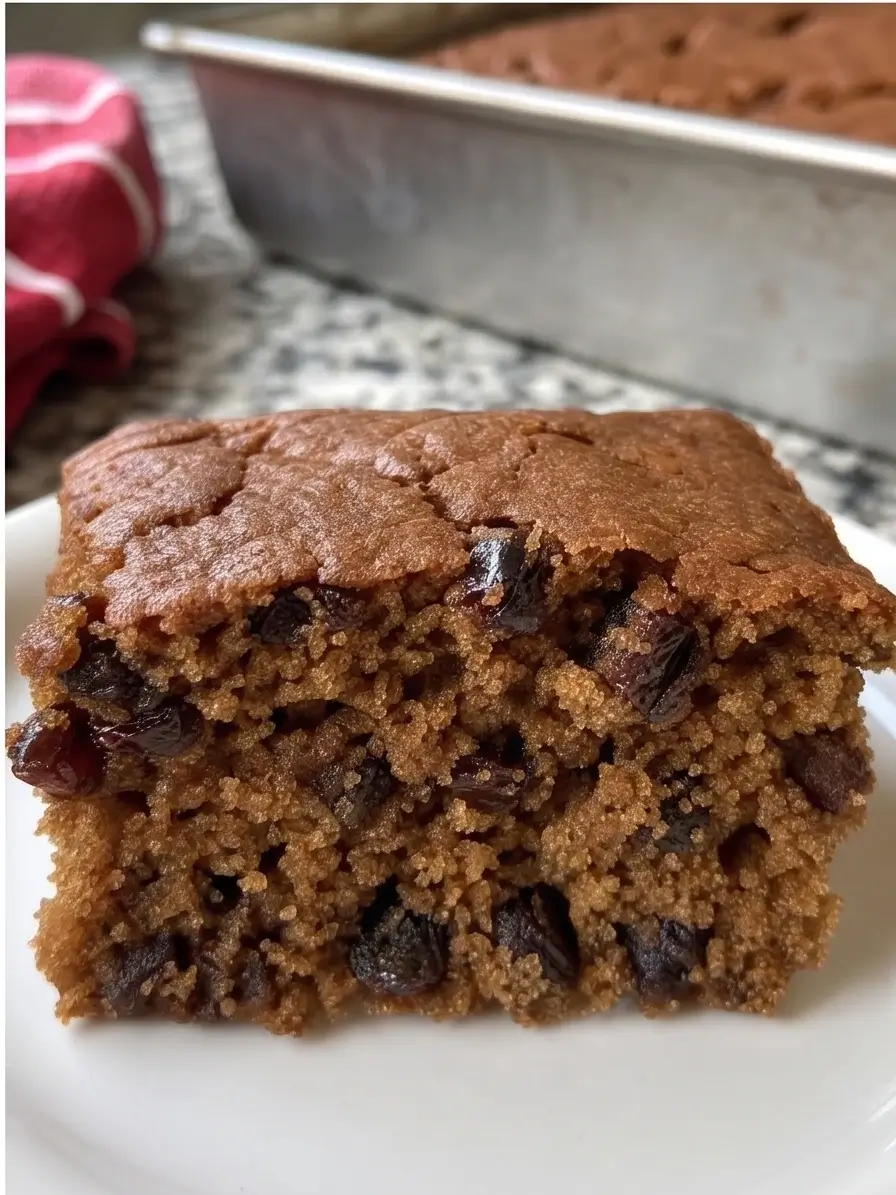
Remove the cake from the oven and let it cool before slicing. Cut into squares and serve once cooled.
How to Serve It
Let the cake cool before cutting it into generous squares and serving. It is especially wonderful with a hot cup of coffee, tea, or a cold glass of milk, allowing the warm spices and sweet raisins to take center stage. The cake is comforting enough for a casual family dessert but nostalgic enough to feel right at a holiday table or old-fashioned afternoon gathering.
For a more indulgent presentation, serve each slice slightly warm with a spoonful of whipped cream or a scoop of vanilla ice cream. If you enjoy nostalgic fruit-filled desserts, our Apple Pie Enchiladas are another wonderfully comforting dessert built around warm spices, brown sugar, and classic homemade flavors.
For breakfast or an afternoon snack, simply serve a square on its own. The cake is sturdy enough to pack for lunches or picnics and has the kind of old-fashioned flavor that makes it particularly enjoyable alongside other simple homemade treats.
Leftovers & Storage
Once completely cooled, cover the cake tightly or transfer individual slices to an airtight container. Store at room temperature for several days, or refrigerate if you prefer a firmer texture. The flavors become even more developed after the cake has rested, making this a wonderful make-ahead dessert for busy weeks and family gatherings.
Individual slices can be warmed gently in the microwave before serving if you enjoy the cake soft and slightly warm. A few seconds is enough to bring back some of the freshly baked texture without drying it out. Serve warm with coffee, tea, or a scoop of vanilla ice cream for an especially comforting treat.
Make It Even Better (Pro Tips)
- Allow the raisin mixture to cool completely before adding the flour — adding flour to a very hot mixture can affect the final texture of the cake.
- Do not skip the simmering step — cooking the raisins with the brown sugar and spices is what gives the cake its deep, developed flavor and tender fruit.
- Fold in the flour just until combined — overmixing can make the finished cake unnecessarily dense.
- Use fresh baking soda for the best rise and texture, especially because this recipe relies on a simple batter without eggs.
- Grease the 9×13-inch baking dish thoroughly so the finished cake releases easily and the edges do not stick.
- Let the cake cool before slicing — the crumb becomes more stable as it cools and the slices will be cleaner.
- Do not be tempted to omit the warm spices — cinnamon, cloves, and allspice are what give this humble cake its distinctive old-fashioned character.
Easy Ways to Change It Up
- Nutty version: Stir chopped walnuts or pecans into the cooled raisin mixture along with the flour for a little extra crunch and richness.
- Extra cinnamon: Increase the cinnamon slightly for an even warmer, more pronounced spice flavor that is especially lovely during the holidays.
- Citrus variation: Add a little fresh orange zest along with the lemon extract for a brighter citrus note that complements the raisins beautifully.
- Glazed finish: Once completely cooled, drizzle the cake with a simple powdered sugar glaze for a sweeter, more polished dessert.
- Holiday spice version: Add a small pinch of nutmeg and ginger alongside the existing cinnamon, cloves, and allspice for an even more aromatic seasonal cake.
Quick Questions
Why is it called war cake?
War cake is associated with older recipes designed around simple pantry ingredients and fewer traditional baking staples. This version is made without eggs or butter and relies on raisins, brown sugar, shortening, flour, and warm spices to create a satisfying homemade cake with a wonderfully nostalgic character.
Can I use butter instead of shortening?
The recipe is traditionally made with shortening, which contributes to its original old-fashioned character. If you choose to substitute another fat, the texture and flavor may change, so shortening is the best choice when you want to stay closest to this version.
Can I add nuts to this cake?
Yes. Chopped walnuts or pecans are a natural addition to this raisin cake and provide a pleasant contrast to the soft fruit and tender crumb. Add them after the raisin mixture has cooled and fold them in along with the flour.
What other old-fashioned dessert should I try?
If you enjoy nostalgic homemade desserts with warm spices and comforting flavors, our Apple Pie Enchiladas are another easy dessert worth trying. For a breakfast or brunch option with a classic homemade feel, our Crescent Roll Cream Cheese Danish is another simple recipe with a beautifully nostalgic bakery-style finish.
Make this old-fashioned war cake and enjoy a little taste of the kind of homemade baking that has been comforting families for generations. Rich with raisins, brown sugar, and warm spices, it is simple, nostalgic, and wonderfully satisfying. Tried it? Leave a comment below and tell me if you added nuts, extra spices, or a glaze! — Ava
Old-Fashioned War Cake
Ingredients
Equipment
Method
- Preheat the oven to 350°F. Grease a 9×13-inch baking dish.
- In a large pot, combine the raisins, water, brown sugar, shortening, salt, cinnamon, cloves, and allspice.
- Bring the mixture to a boil, then reduce the heat and simmer for 5 minutes.
- Remove from the heat and let the mixture cool completely to room temperature.
- Stir in the baking soda, vanilla extract, and lemon extract.
- Fold in the flour just until combined. Do not overmix.
- Pour the batter into the prepared baking dish and spread evenly.
- Bake for 35–40 minutes, until a toothpick inserted into the center comes out clean.
- Let the cake cool before slicing and serving.